____|                                    \
|    |   | _  / _  /   _ \   __|        _ \    __ `__ \    _ \    __|  _ \
__|  |   |   /    /    __/  |          ___ \   |   |   |  (   |  |     __/
_|   \__,_| ___| ___| \___| _|        _/    _\ _|  _|  _| \___/  _|   \___|
Oct 1, 2025
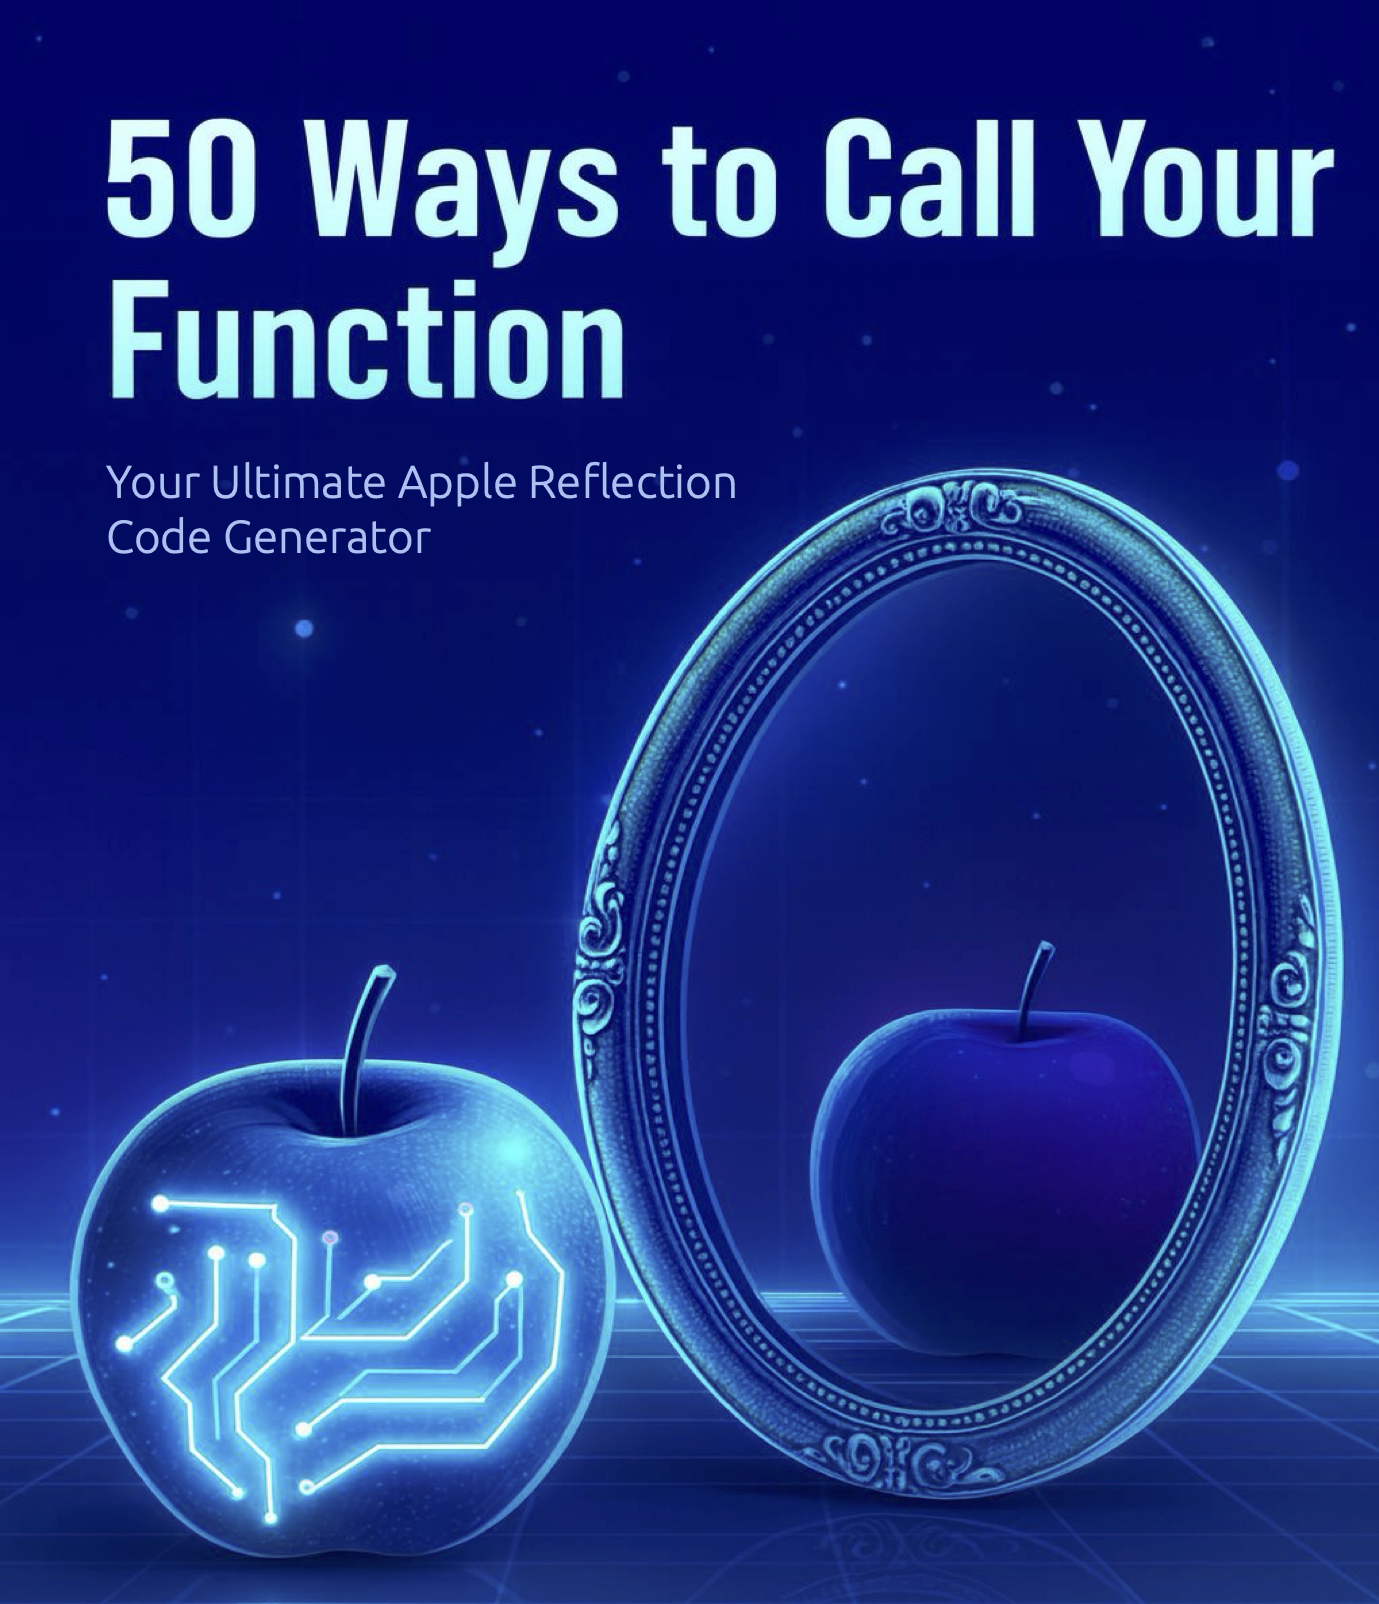
50 ways to call your function
Introduction
Hello,
In this post I will cover a new tool for generating reflection code for ObjC/Swift.
Reflection could be defined as a generic way to trigger methods by their name. If we want to get more technical, it means obtaining the address of the implementation of a method by its name.
While the concept is not unique to ObjC, this is the focus and purpose of this tool.
To be more precise: this blog explores the different ways reflection can be used for triggering ObjC methods.
So, how many ways can there be to trigger just one ObjC function? Apparently, not as few as one would think, and it turns out that there are more permutations than ways to leave your lover.
This blog post will introduce reflection basics, then move to advanced breakdown and options, and will end with instructions on how to use the tool.
If you are not new to ObjC reflection you can skip to the breakdown and read from there.
Note that calling a method with reflection can be done using both ObjC and Swift. The callee, on the other hand, is always an ObjC method, or even an NSObject's child method.
Terminology
Callee - The ObjC method (function) that we want to call using reflection. For example, a method likeReflection - The ability to find and call a method using a string that represents its name at runtime. In the example above, we want to be able to call the method by providing the string
Selector - a struct (SEL) that represents the name of a method, which for our needs is equivalent to a string.
Class Method - A method that belongs to the class (a static method) that can be called without creating an instance of the class. The declaration may look like this:
Instance Method - A method that is called upon an instance of the class. The declaration may look like this:
Target - The object that the callee belongs to. It may be a class or an instance, depending on the case (class for class method and instance for instance method)
The Simplest Example
Suppose this is our callee and its class
  //MyClass.h

  @interface MyClass
  +(void)myMethod;
  @end

  // MyClass.m

  @implementation MyClass
  +(void)myMethod {
    NSLog(@"MyMethod was called");
  }
Calling the method directly (without reflection) will probably look like this:
Calling the method using reflection may look like this:
This may look a bit confusing because we didn't really pass a string, but we still created a selector and triggered the method indirectly.
If we would have wanted to use a real string, this may fit better:
Breakdown
If we look at this last example:
The first part
The second part, which is at the end of the line, creates the selector from a string. There are more ways to create a selector, such as
The final part in this simple example is the way we trigger the selector. Once the target and selector are obtained, there are several ways to trigger them.
In this example
Each method has some limitations and different availabilities depending on several parameters such as:
- The language we are calling from (objc/swift)
- The number of parameters the callee has
- The type of parameters
- The return value
Target
Obtaining the target for a class method can be done from a string. The
Alternatively
    Class myClass = NSClassFromString(@"MyClassName");
    // or
    Class myClass = objc_getClass("MyClassName");
This creates
When the callee is an instance method, the target needs to be an instance. Such an instance can be
created directly, or using reflection as well.
Assume the following code:
  // The method we want to trigger:
  -(NSString*)userUUID;

  // the default initializer takes care of populating the UUID, so this should work:
  id myInstance = [User new];
  NSString* theUUID = [myInstance userUUID];

  // but if we want to use reflection:
  // Option A:
  id myInstance = [NSClassFromString(@"User") performSelector:NSSelectorFromString(@"new")];
  NSString* theUUID = [myInstance performSelector:NSSelectorFromString(@"userUUID")];

  // Option B:
  id myInstance = [objc_getClass("User") performSelector:sel_registerName("new")];
  NSString* theUUID = [myInstance performSelector:sel_registerName("userUUID")];
So if we apply the concepts that we learned so far, we know that there is more than one way
for obtaining the class, and more than one way to obtain the selector.
Options A and B can both work, and even interchange the class/selector creation methods.
While both A and B use
Before advancing to triggering, return type and arguments considerations,
note that you can call these ObjC callees from Swift as well:
  // consider the same callee
  -(NSString*)userUUID;

  // calling it from Swift code
  let myInstance = User()
  let mySelector = Selector("userUUID")
  if let result = myInstance.perform(mySelector)?.takeUnretainedValue() as? NSString {
    print("new user's uuid: \(result)")
  }
Generator 101
This last Swift example can serve us as an introductory paragraph for
using the generator.
We select the language as Swift, because we want to call the callee from Swift.
We select the instance method option because our callee starts with a '-'.
We select the
We select the return value as
We select number of parameters as none.
We select the triggering method as
The generator UI now looks like the following:
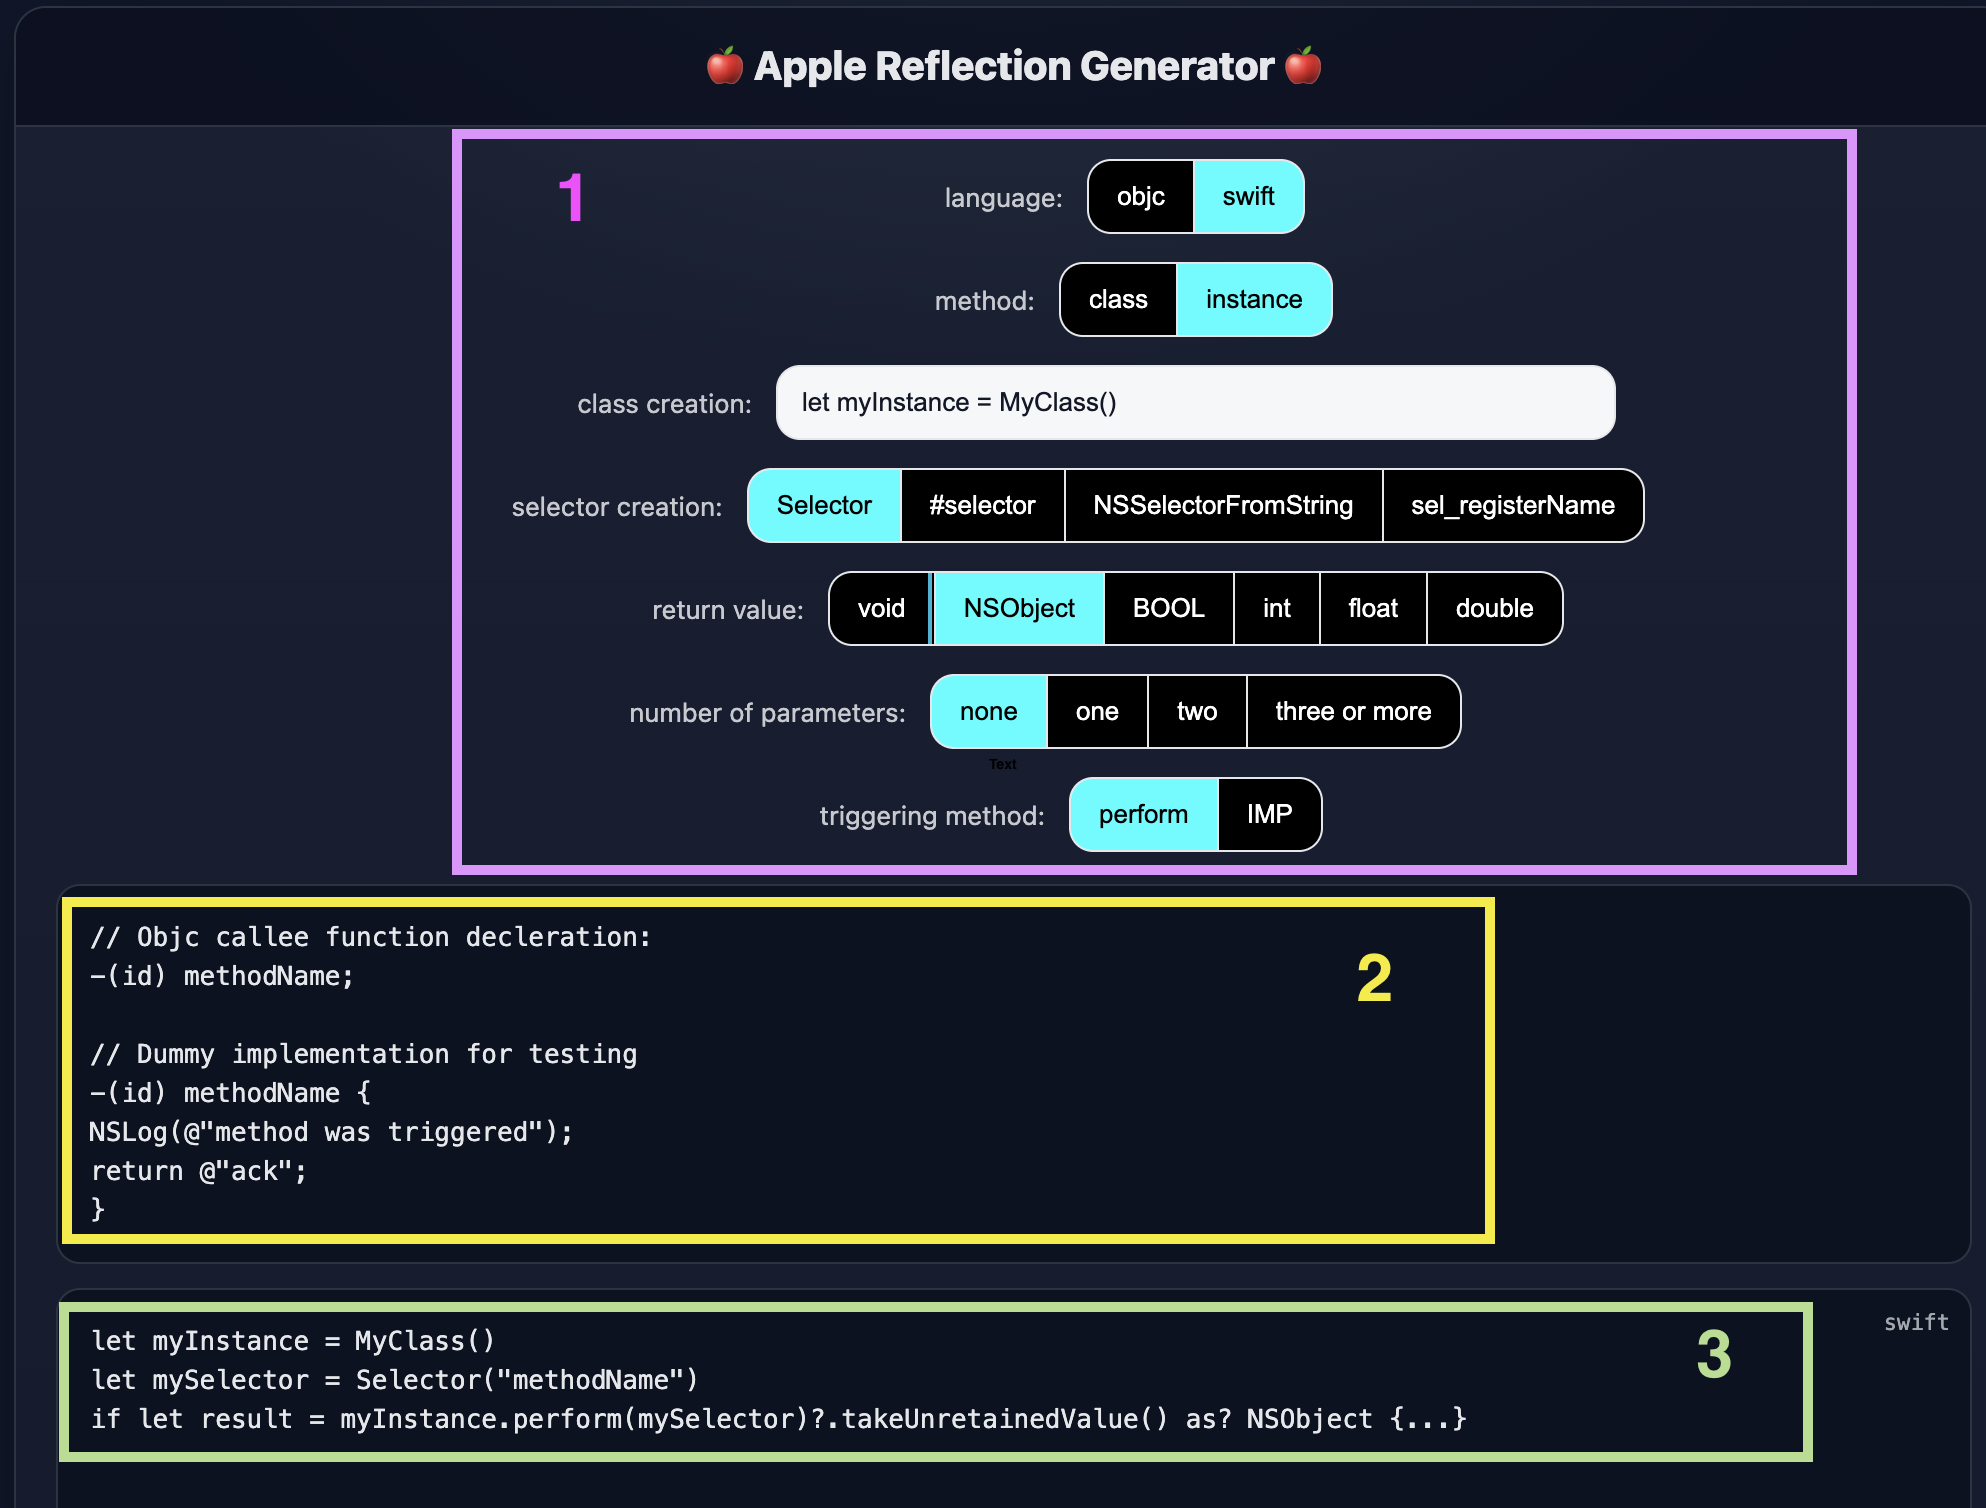
The top part
The middle part
The middle part can also be copied to the relevant locations in the test app (fiftyWays)
The declaration will be added to the header file under the @interface, and the
implementation in the .m file under the @implementation.
The last part
In the test app this will be placed in the relevant caller,
depending on the language, under the
To illustrate:
Advanced
Creating a selector and calling
// objc
- (id)performSelector:(SEL)aSelector;
- (id)performSelector:(SEL)aSelector withObject:(id)object;
- (id)performSelector:(SEL)aSelector withObject:(id)object1 withObject:(id)object2;
//swift
func perform(_ aSelector: Selector!) -> Unmanaged
These declarations are taken from the NSObject protocols (ObjC and Swift)
This means you can call an ObjC method that has 2 arguments:
// method declaration
+(BOOL) methodNameWith:(id)firstArg and:(id)secondArg;

// calling it from swift
let myClass = NSClassFromString("ClassName")
let mySelector = Selector("methodNameWith:and:")
if let result = myClass.perform(Selector:mySelector, with:NSString("myFirstArg"), with:NSString("mySecondArg")) as? Bool {...}
This is where other APIs can be used:
id myClass = NSClassFromString("ClassName");
SEL mySelector = NSSelectorFromString(@"methodNameWith:and:and:");

IMP myImpl = [myClass methodForSelector:mySelector];
int (*myFunc) (id, SEL, id, id, id) = (int (*) (id, SEL, id, id, id))myImpl;
int result = myFunc(myClass, mySelector, @"myFirstArg", @"mySecondArg", @"myThirdArg");
Alternatively,
id myClass = NSClassFromString("ClassName");
SEL mySelector = NSSelectorFromString(@"methodNameWith:and:and:");

NSMethodSignature *signature = [instance methodSignatureForSelector:mySelector];
NSInvocation *invocation = [NSInvocation invocationWithMethodSignature:signature];
[invocation setSelector:mySelector];
[invocation setTarget:instance];

id firstArg = @"myFirstArg";    // or any other NSObject
id secondArg = @"mySecondArg";    // or any other NSObject
id thirdArg = @"myThirdArg";    // or any other NSObject

[invocation setArgument:&firstArg atIndex:2];    // first arg is at index 2
[invocation setArgument:&secondArg atIndex:3];
[invocation setArgument:&thirdArg atIndex:4];

[invocation invoke];

int result;
[invocation getReturnValue:&result];
This method (as well as
id myInstance = [MyClass new];
SEL mySelector = NSSelectorFromString(@"methodNameWith:and:and:");
BOOL result = ((BOOL (*) (id, SEL, float, id, id)) objc_msgSend)(myInstance, mySelector, 0.99, @"mySecondArg", @"myThirdArg");

/* Alternatively if you don't like the one liner approach
BOOL (*myFunc) (id, SEL, float, id, id) = (BOOL (*) (id, SEL, float, id, id))objc_msgSend;
BOOL result = myFunc(myInstance, mySelector, 0.99, @"mySecondArg", @"myThirdArg"); */
Note that
API Headers
To conclude the post, I encourage you to look for the relevant API in the header files.
This can help you better understand how everything is declared and can be used in case the generator produces some errors.
In some cases the header files need to be imported to the project.
Some examples:
// objc
FOUNDATION_EXPORT Class _Nullable NSClassFromString(NSString *aClassName);

// swift
public func NSClassFromString(_ aClassName: String) -> AnyClass?
// objc
OBJC_EXPORT Class _Nullable objc_getClass(const char * _Nonnull name)
// swift
public func objc_getClass(_ name: UnsafePointer
Conclusion
Well, as we have seen, there are multiple ways to trigger ObjC functions with reflection. This can be done from ObjC or Swift, and depends on the callee's format.You may ask yourself why do we need so many ways if using just 2 can work just as well?
This is very true, but still fun, educational, and useful if some of the APIs will change in the future.
Concluding with the links once again:
generator
repo
More reading:
Apple, Hesry, Wheeler, ko9